Live Elements
Live Elements is a feature available in the WIREWAX tool to pull content from any open API and integrate into the overlays. Live Elements can be even linked to clickthrough urls in element actions. All elements will allow users to add their own content and mix it with content/action from the API.
important
No permission is required to access this feature. This feature will work on existing or new WIREWAX Studio videos/images but limited only to the WIREWAX player v5 (new player).
Live Elements feature is NOT supported in WIREWAX Brightcove plugin and JW plugin.
Prerequisites#
- Active WIREWAX account
- Open Rest API returning JSON
- Basic understanding of templating
Sample Links#
- Video
- Sample JSONs
Tutorials#
For more details about how to use Live Elements, please follow this link.
String Templating Basics#
Say if we have the string:
and the name has to be dynamic, the way to do that is to make the name as a template and connect the template to a data source. WIREWAX allows to template a string by enclosing them inside double curly braces:
In our case the template string name will be connected to the API response.
How to#
We will aim to create the below overlay with data from the above 2 APIs.
 (Fig.1)
Create/Edit a hotspot, select the Hotspot action as Open Overlay and click Create/Edit Overlay. This action will bring up the Overlay Editor. There will be a new option called Live Elements in the toolbar in the top left corner (See Fig.2).
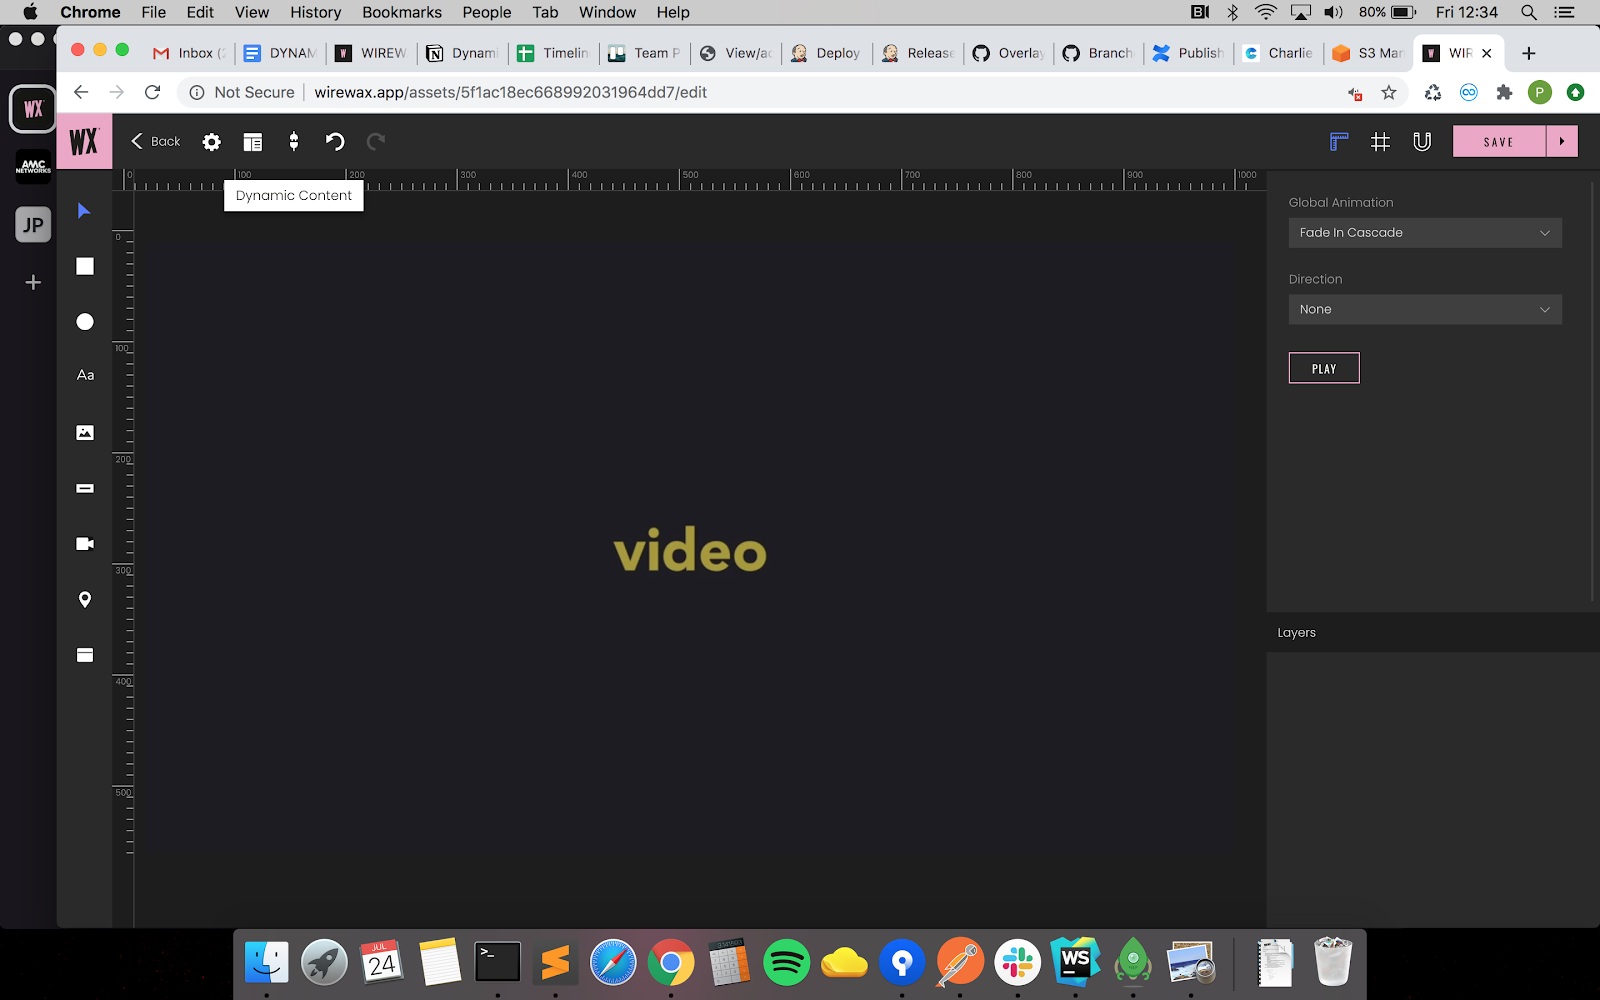 (Fig.2)
On clicking the Live Elements option it will bring the Live Elements Manager(See Fig.3)
 (Fig.3)
We will see 2 sections:
- Live Content - This where we will add our APIs and name them
- Added APIs - List of APIs we have added for the current asset
Let’s use the first API from the sample JSONs and name it(See Fig.4).
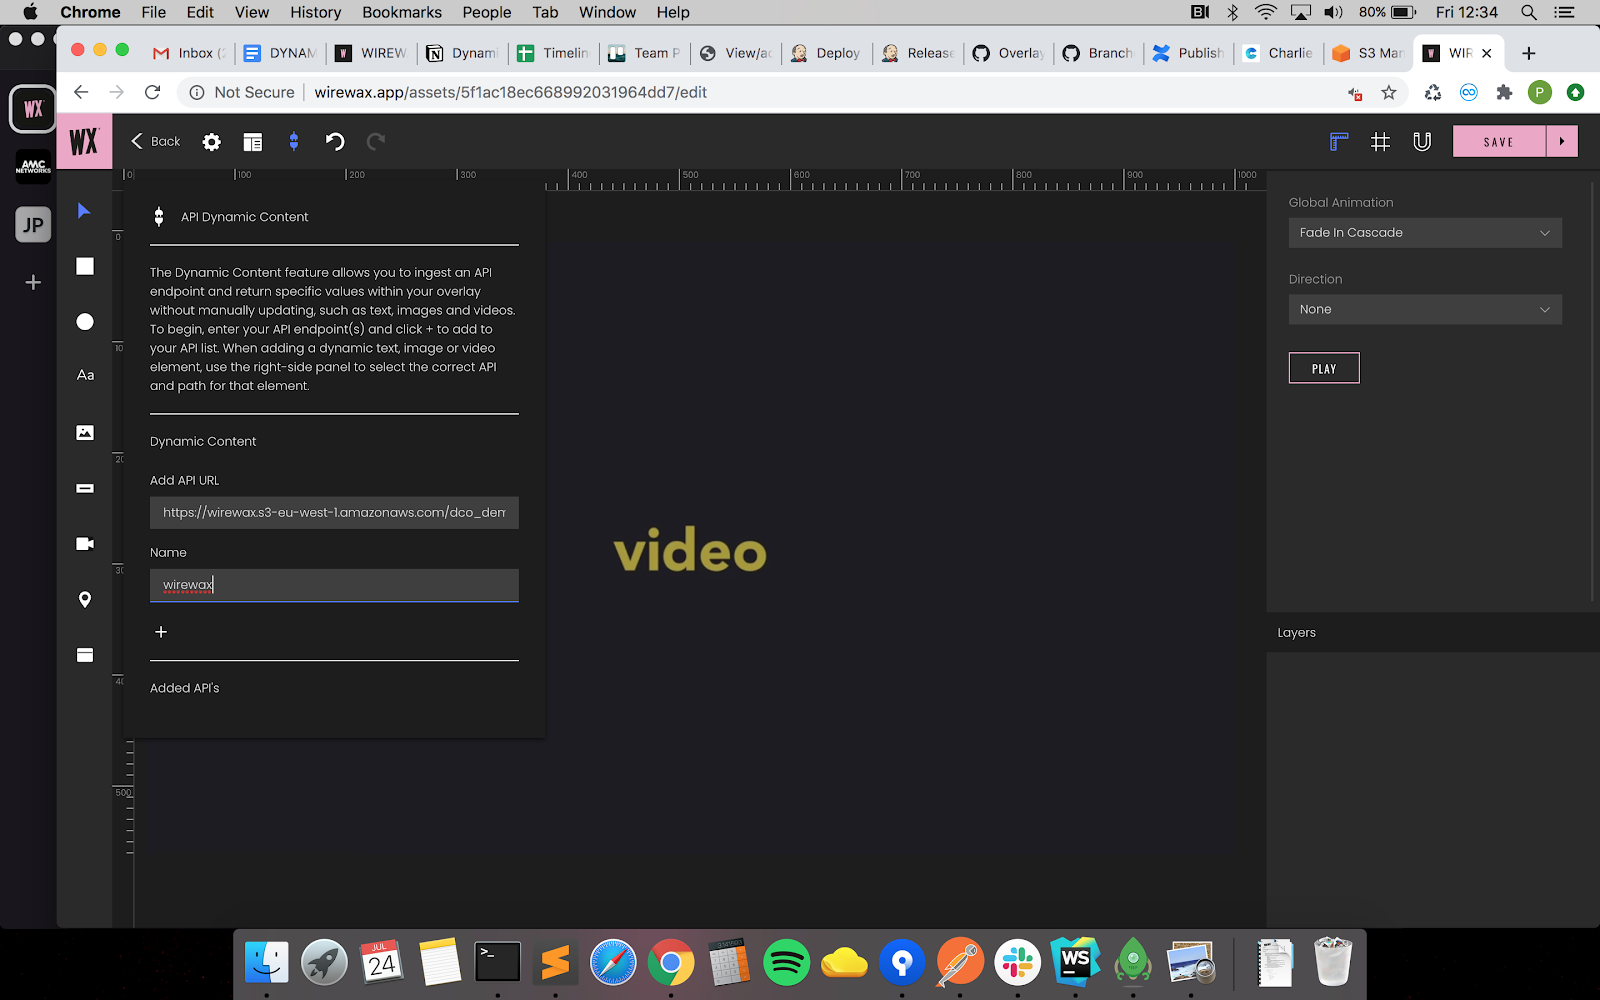 (Fig.4)
After entering the API and name clicking the Plus icon will give a success message and add the API to the list(See Fig.5)
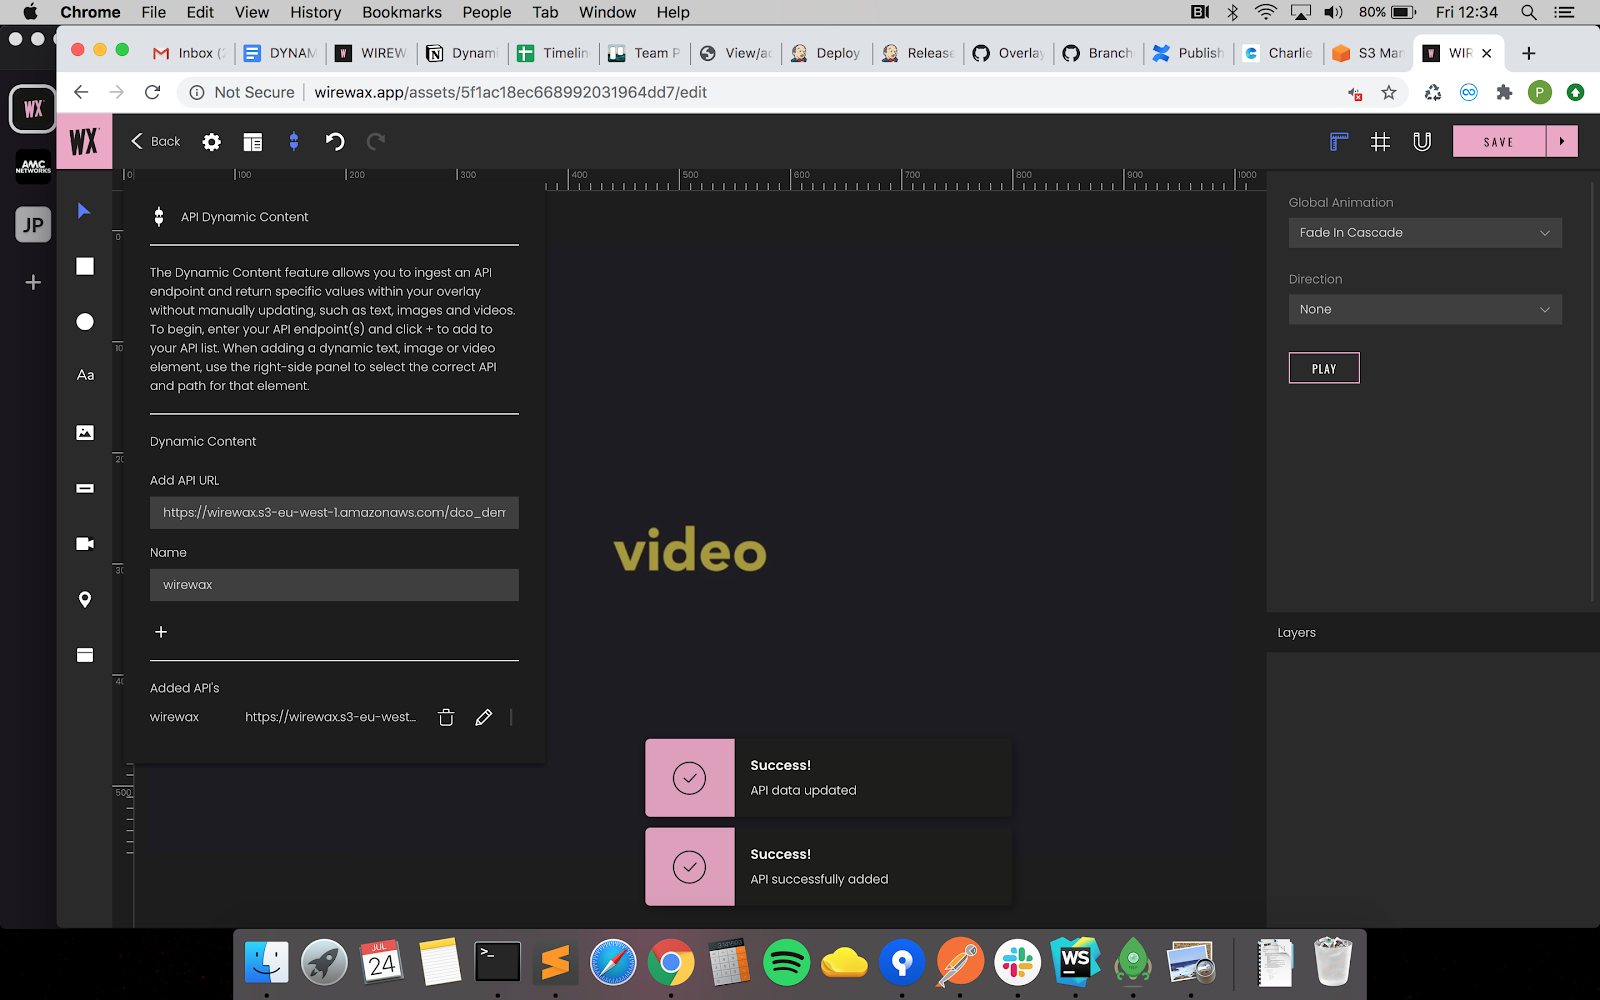 (Fig.5)
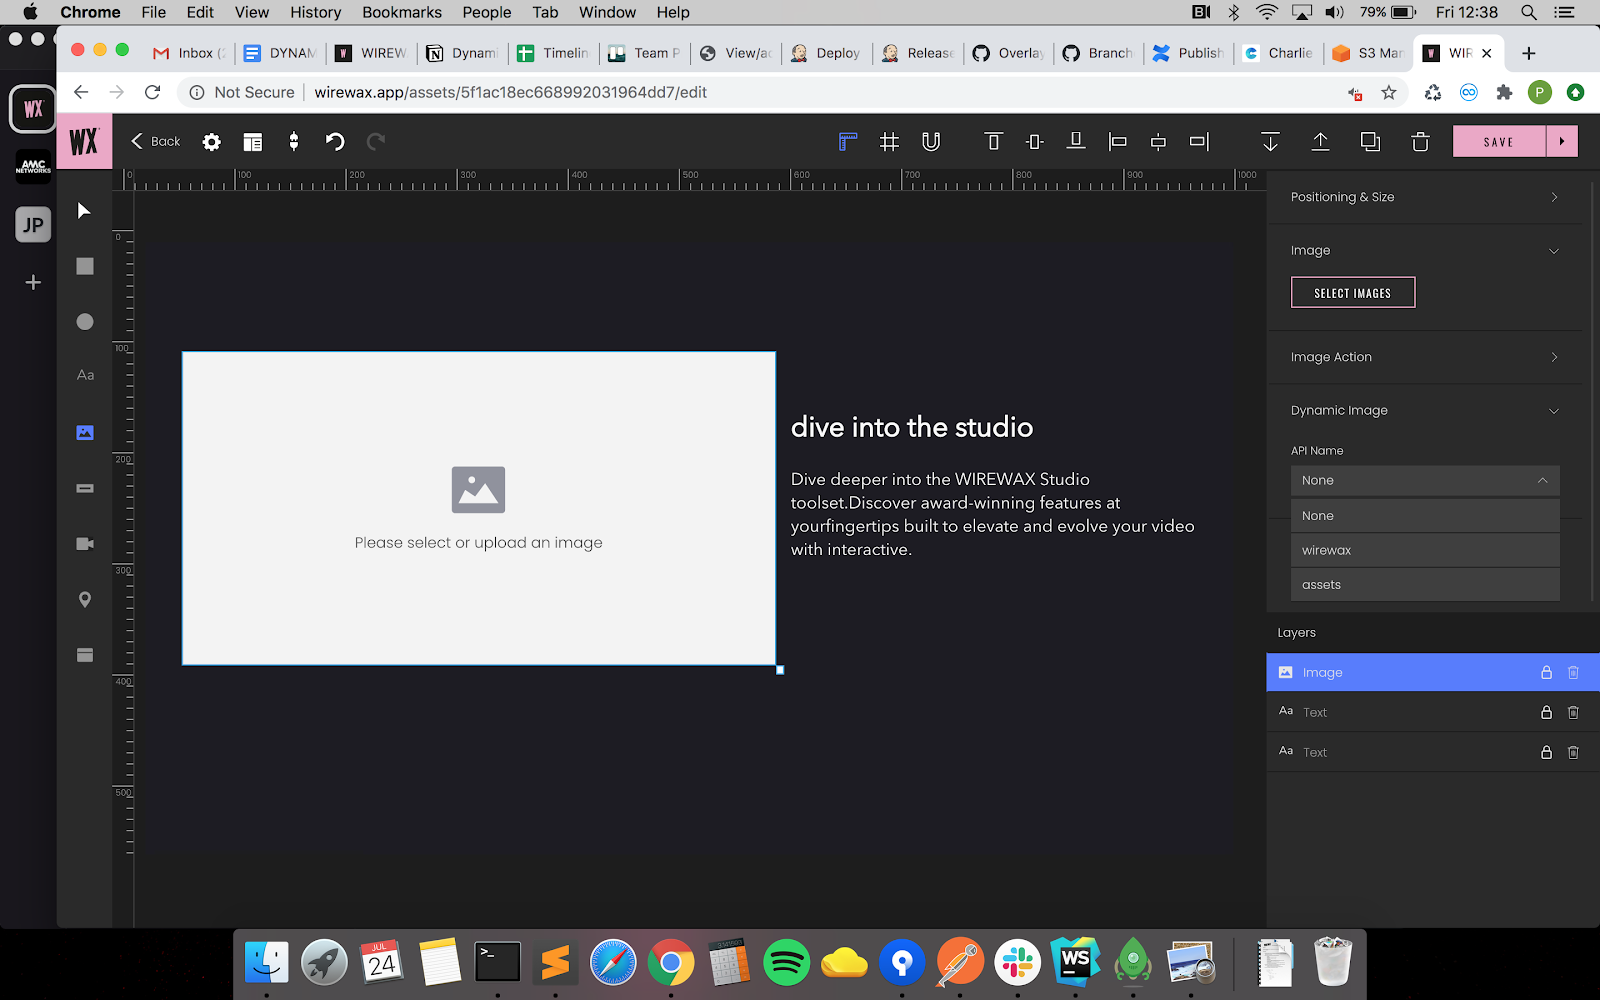
Now that we’ve added the first API, we’ll first add the title. Select Text Element and we will see an option Dynamic Copy. Expand the section and click the API Name dropdown(by default no api will be selected). Now, select the API that we added (See Fig.6)
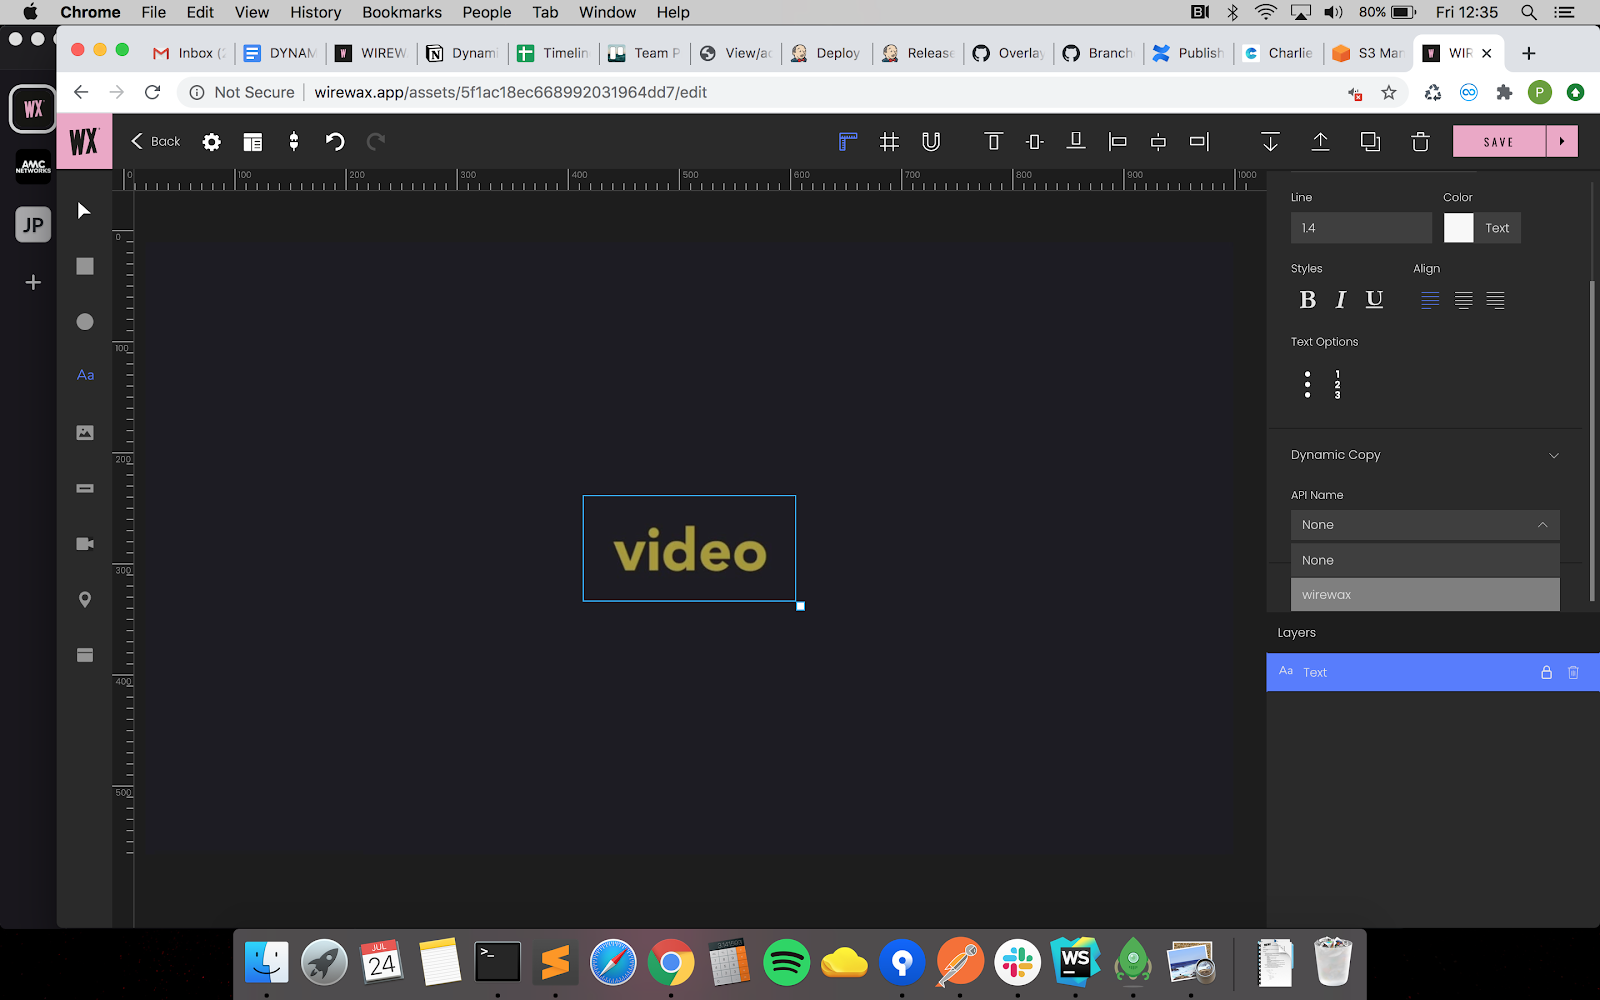 (Fig.6)
On selecting the API name we will see the response from it(See Fig.7)
 (Fig.7)
The way WIREWAX system distinguishes live content from custom content is by representing the live content inside double curly braces like {{LIVE_CONTENT}}.
If we want to use the title from the API we added, we enter it in the element like {{title}} (See Fig.8).
 (Fig.8)
To check if the added keys work, take off the focus from the element and the system will dereference it (See Fig.9)
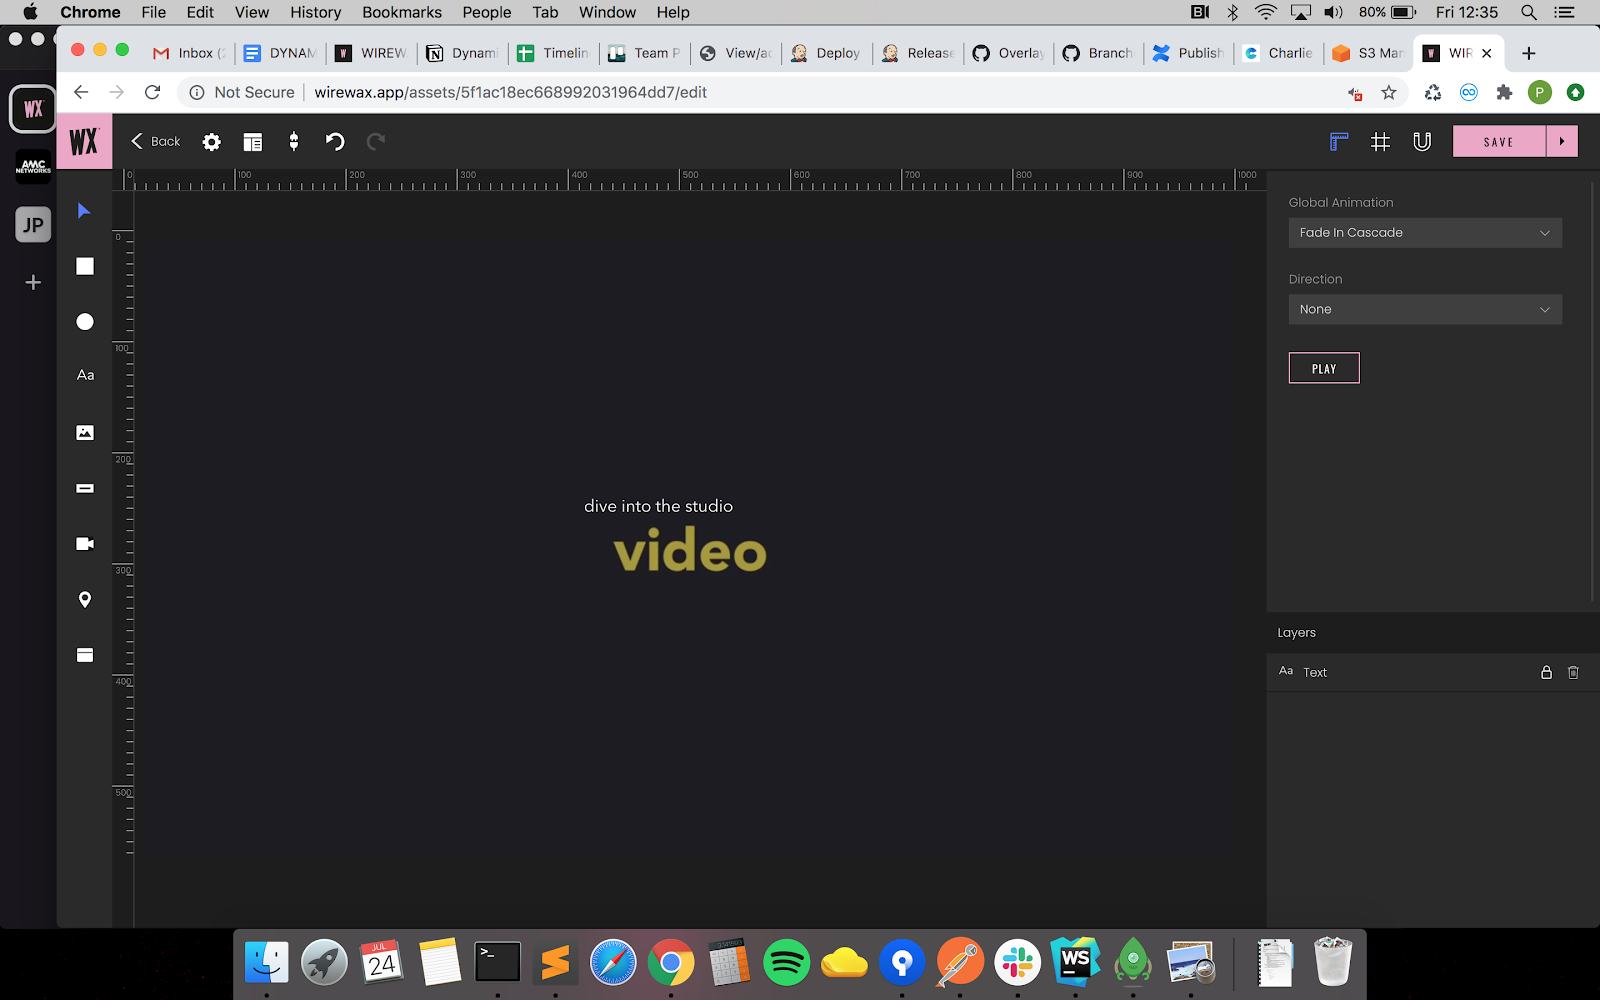 (Fig.9)
We’ll do the same to pull description and change the text formatting options (See Fig.10)
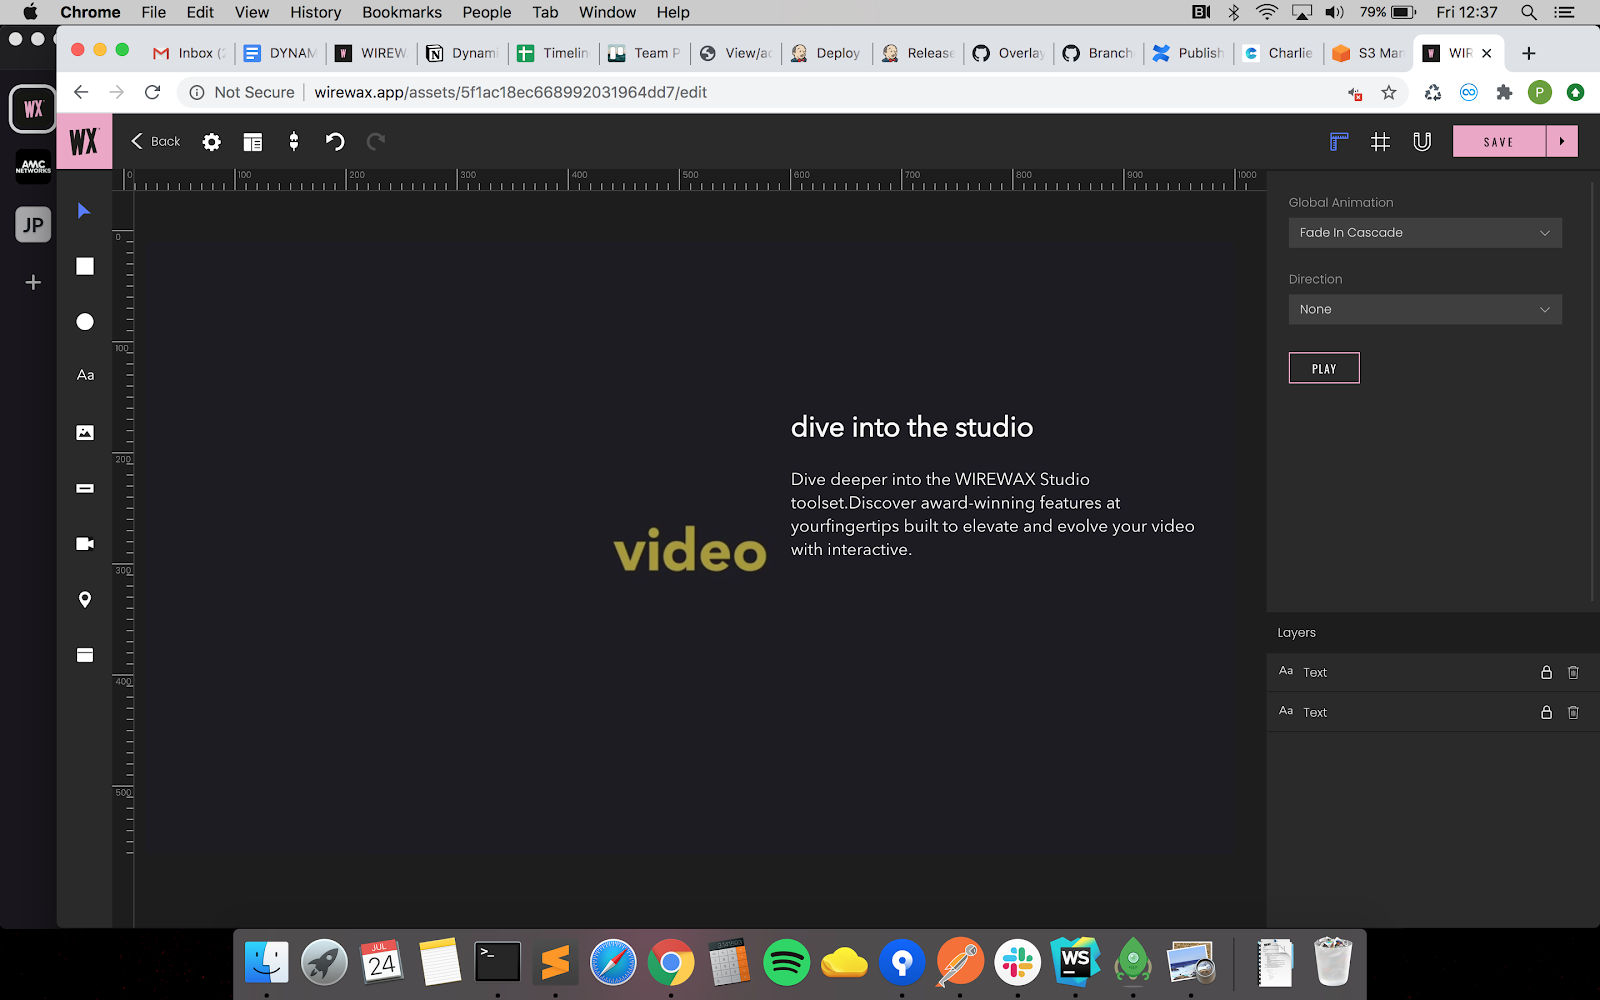 (Fig.10)
Now we will add another API to pull our assets. For this we’ll use the second link from the sample JSONs and follow the steps to add an API (See Fig.11).
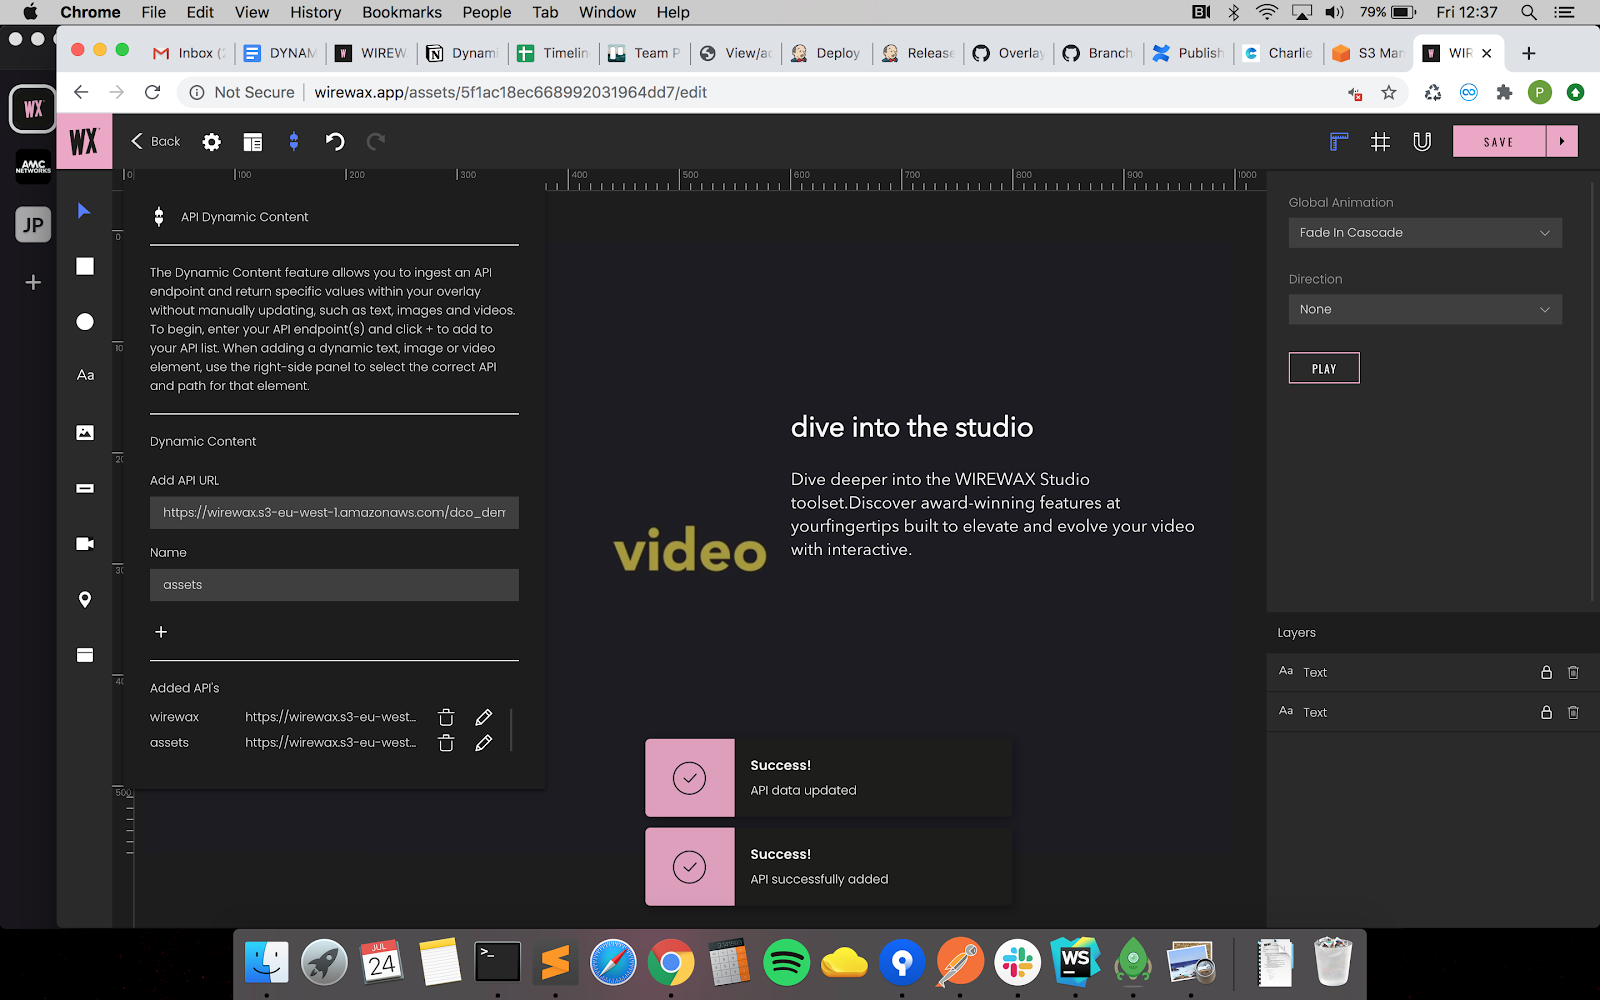 (Fig.11)
We’ll now add an image using the url from one of the API responses. Select the Image element and we will see a similar option called Dynamic Image (See Fig.12).
 (Fig.12)
n this case the image that we want to use has only the path. So we can add the domain manually as a prefix.
For example:
Usage: https://edge-assets.wirewax.com/dco_demo{{[2].url}}
Result: https://edge-assets.wirewax.com/dco_demo/assets/banner.webp
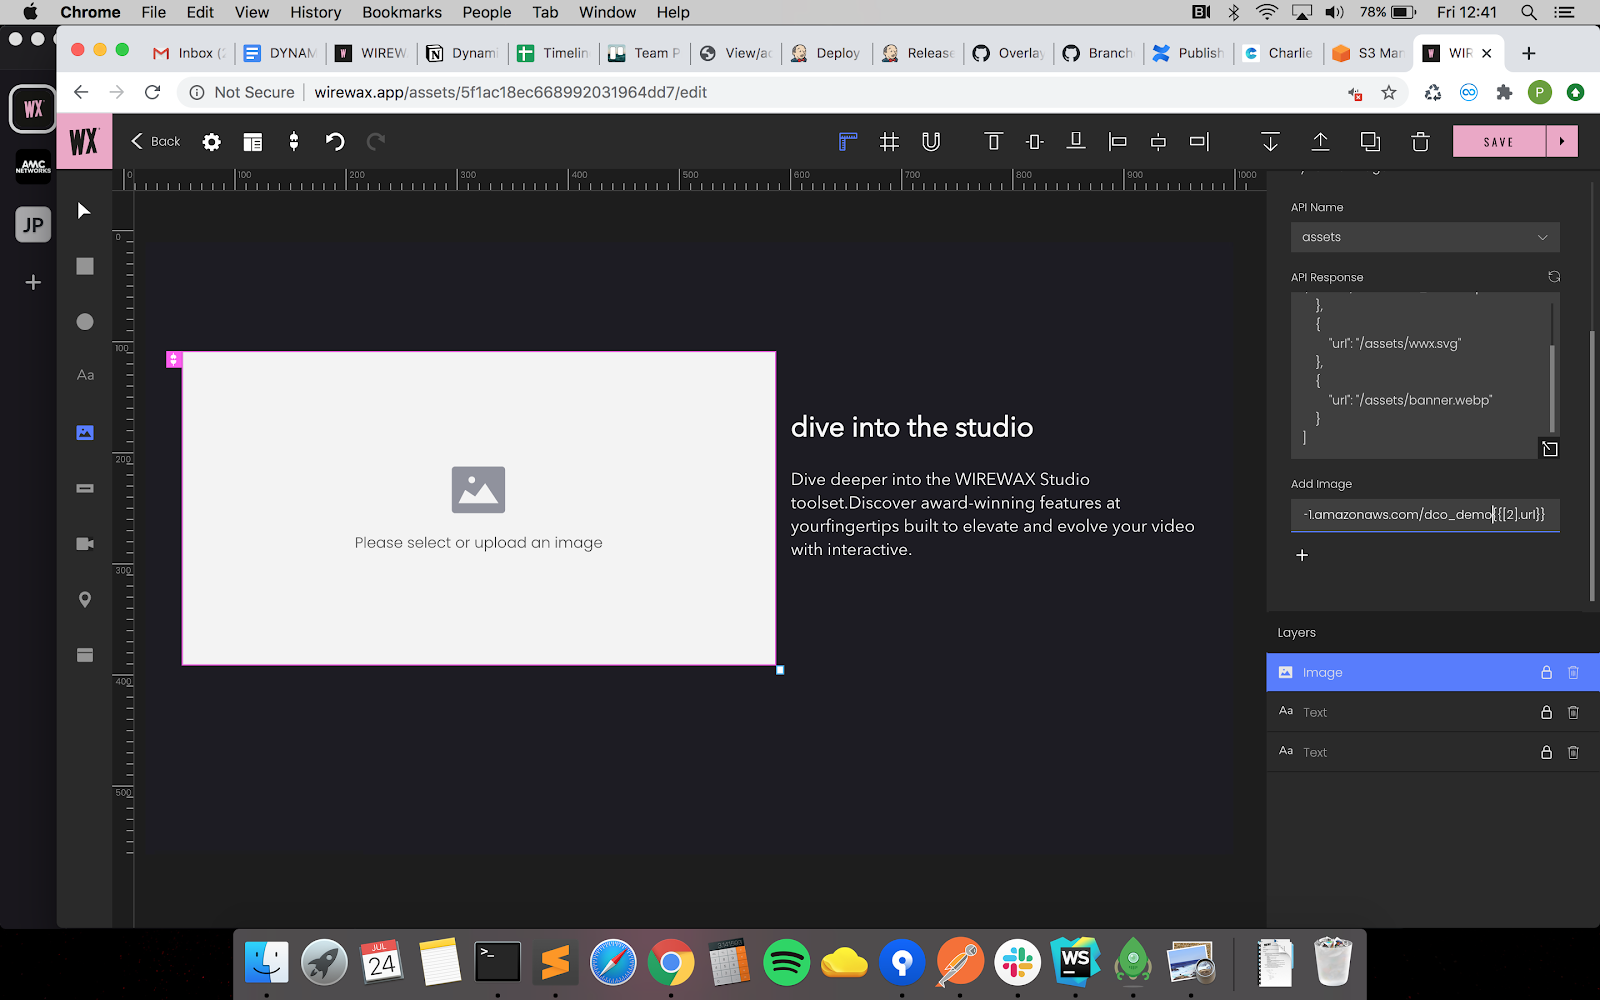 (Fig.13)
Clicking the Plus icon will dereference the value from the response (See Fig.14)
 (Fig.14)
Image elements can accept a mix of images from dynamic urls and from DAM.
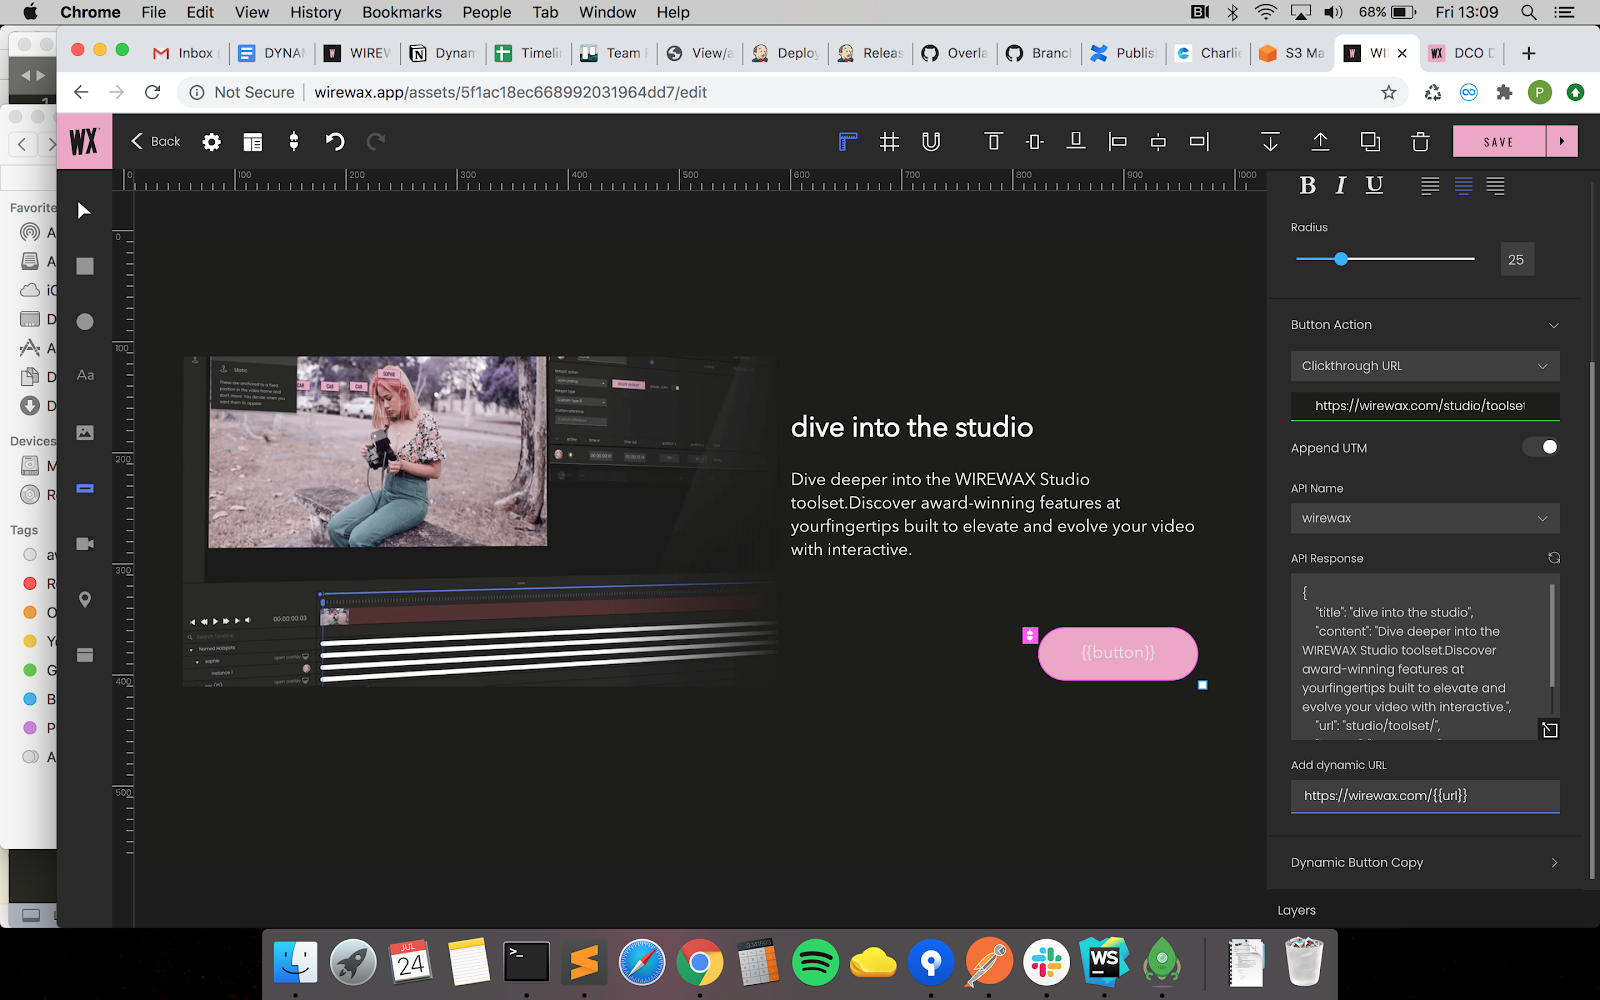
Now, lets try adding dynamic content to the clickthrough url. Create a button element and follow the same steps to add dynamic content for the element. Expand the Button Action section and select clickthrough url. We will see the dropdown to select the dynamic content API (See Fig.15).
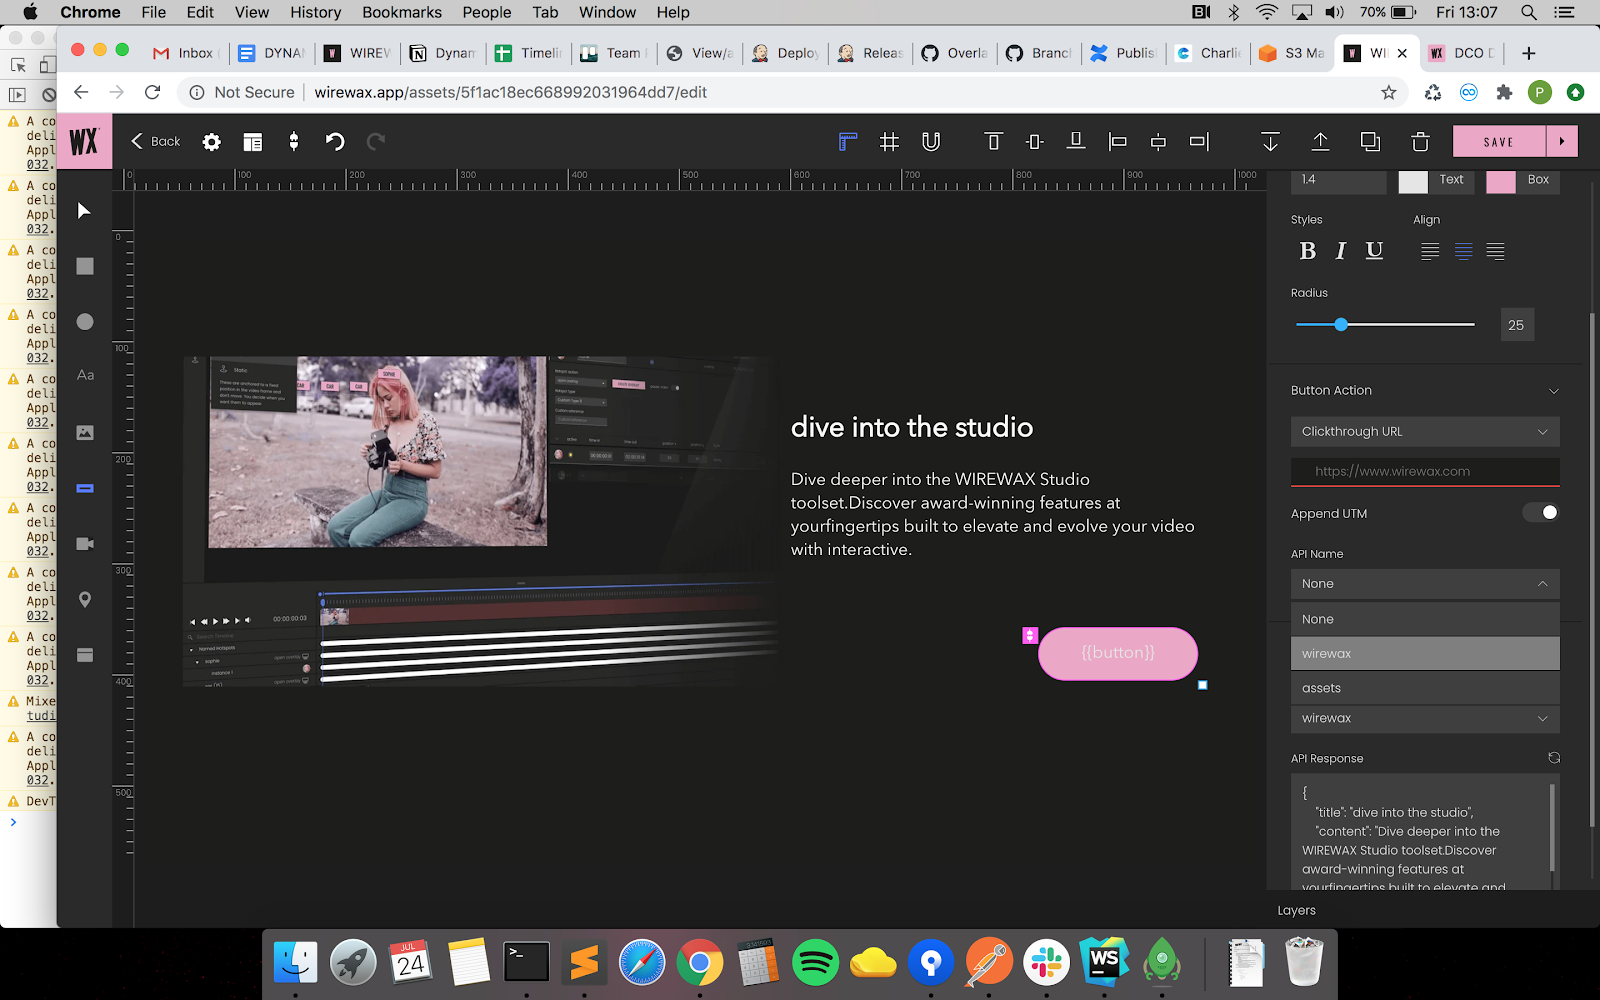 (Fig.15)
Once we’ve selected the API name, we will see an option called Add Dynamic URL. This is where we will be able to add the dynamic url and we will see the resolved content on the top of the section.
For the below example we will again add the domain manually as a prefix and add the path from the API response (See Fig.16).
 (Fig.16)
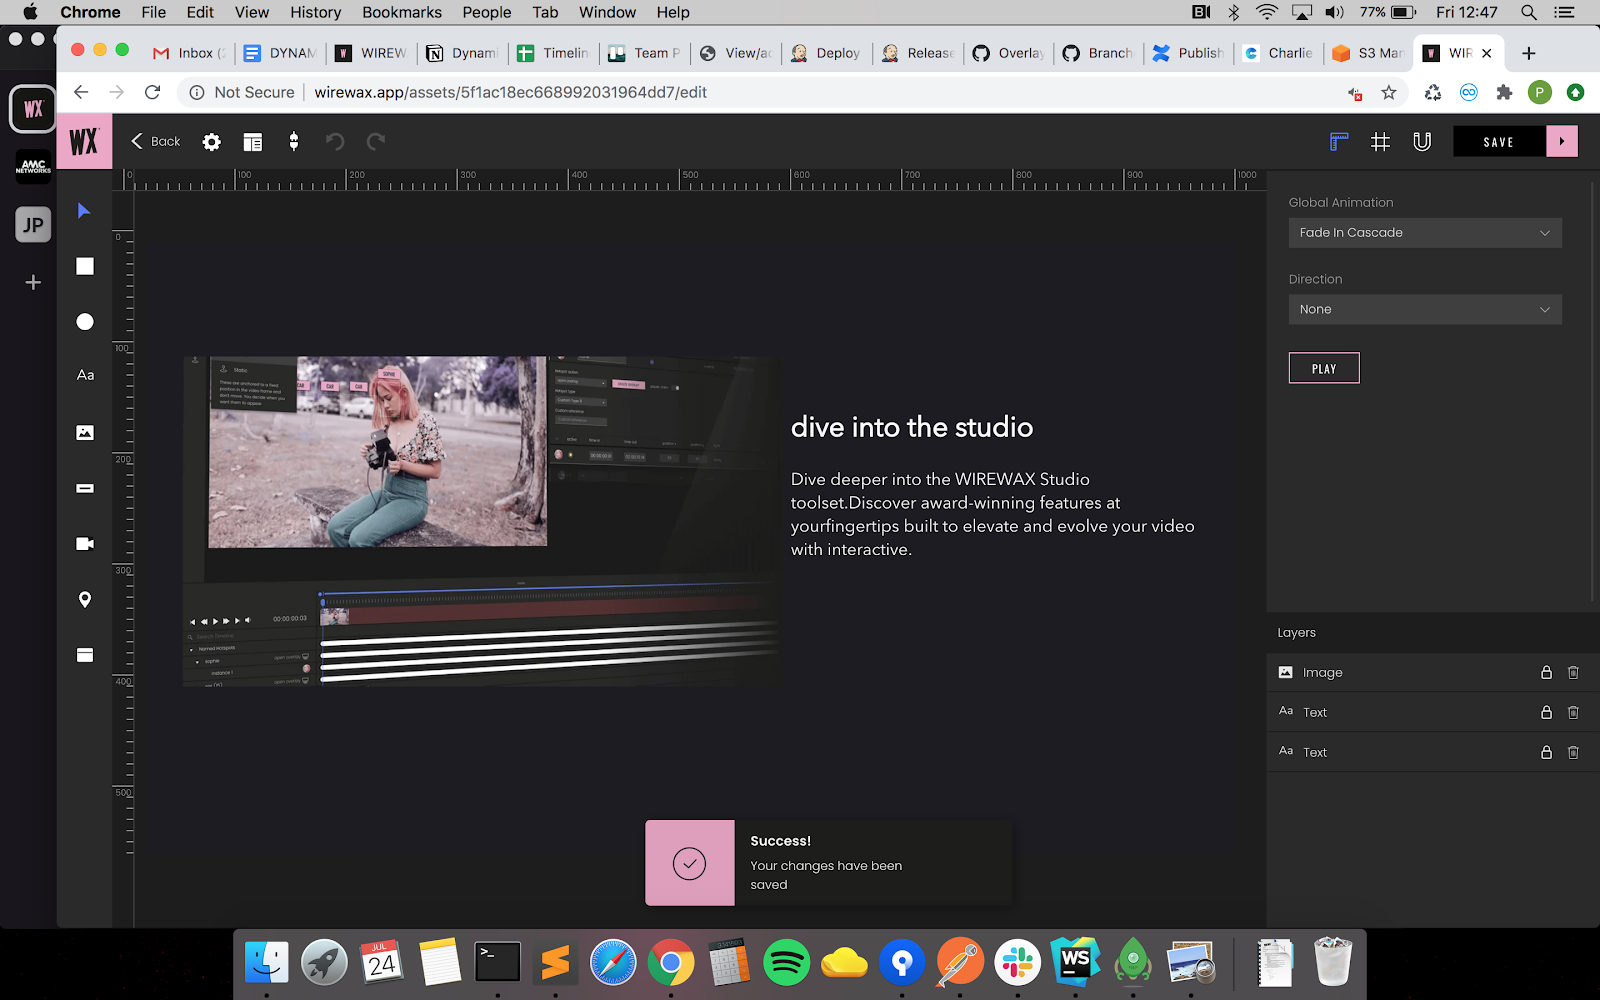
If we preview the video in the player, we will see all the content being pulled from the API.
We can follow the same steps to add dynamic video url, iframe url and map locations.
Custom Params#
Live Elements feature supports passing URL params to API endpoints. Please follow the following syntax to pass params from "Video Level" to "API endpoints level":
For example, if a video embedder.wirewax.com/YOUR_VIDEO_ID is using API endpoints:
https://api.nytimes.com/svc/books/v3/lists/current/hardcover-fiction.jsonhttps://api.nytimes.com/svc/books/v3/reviews.json
video embedder.wirewax.com/YOUR_VIDEO_ID?customParams=[param1=value1,param2=value2,param3=value3] will call API endpoints:
https://api.nytimes.com/svc/books/v3/lists/current/hardcover-fiction.json?param1=value1¶m2=value2¶m3=value3https://api.nytimes.com/svc/books/v3/reviews.json?param1=value1¶m2=value2¶m3=value3
important
Live Element custom params feature is useful for customizing API queries. Currently Live Element only support public APIs. For security reasons, please avoid using custom params feature to append API Keys.